Hang a Picture Perfectly Straight
by Abdulrasaq • DIY Guides • August 10, 2025
Hanging a frame should be quick, but the straight part often turns into a dance of micro-adjustments and mystery tilts. This method removes the guesswork. You’ll set a clean gallery height, place a paper template where the frame will live, and use two mounting points so the picture can’t twist. Add tiny bumpers, and your frame will sit flat and stay level even after a door slam or a curious cat.
What You’ll Need
- Tape measure, pencil, and painter’s tape
- Level (a phone level app works in a pinch)
- Paper for a template (kraft paper, newspaper, or taped A4 sheets)
- Picture hooks/nails or screws; anchors for drywall if no stud
- Bumpers (felt or silicone) for the bottom corners
- Optional: stud finder, small drill for pilot holes
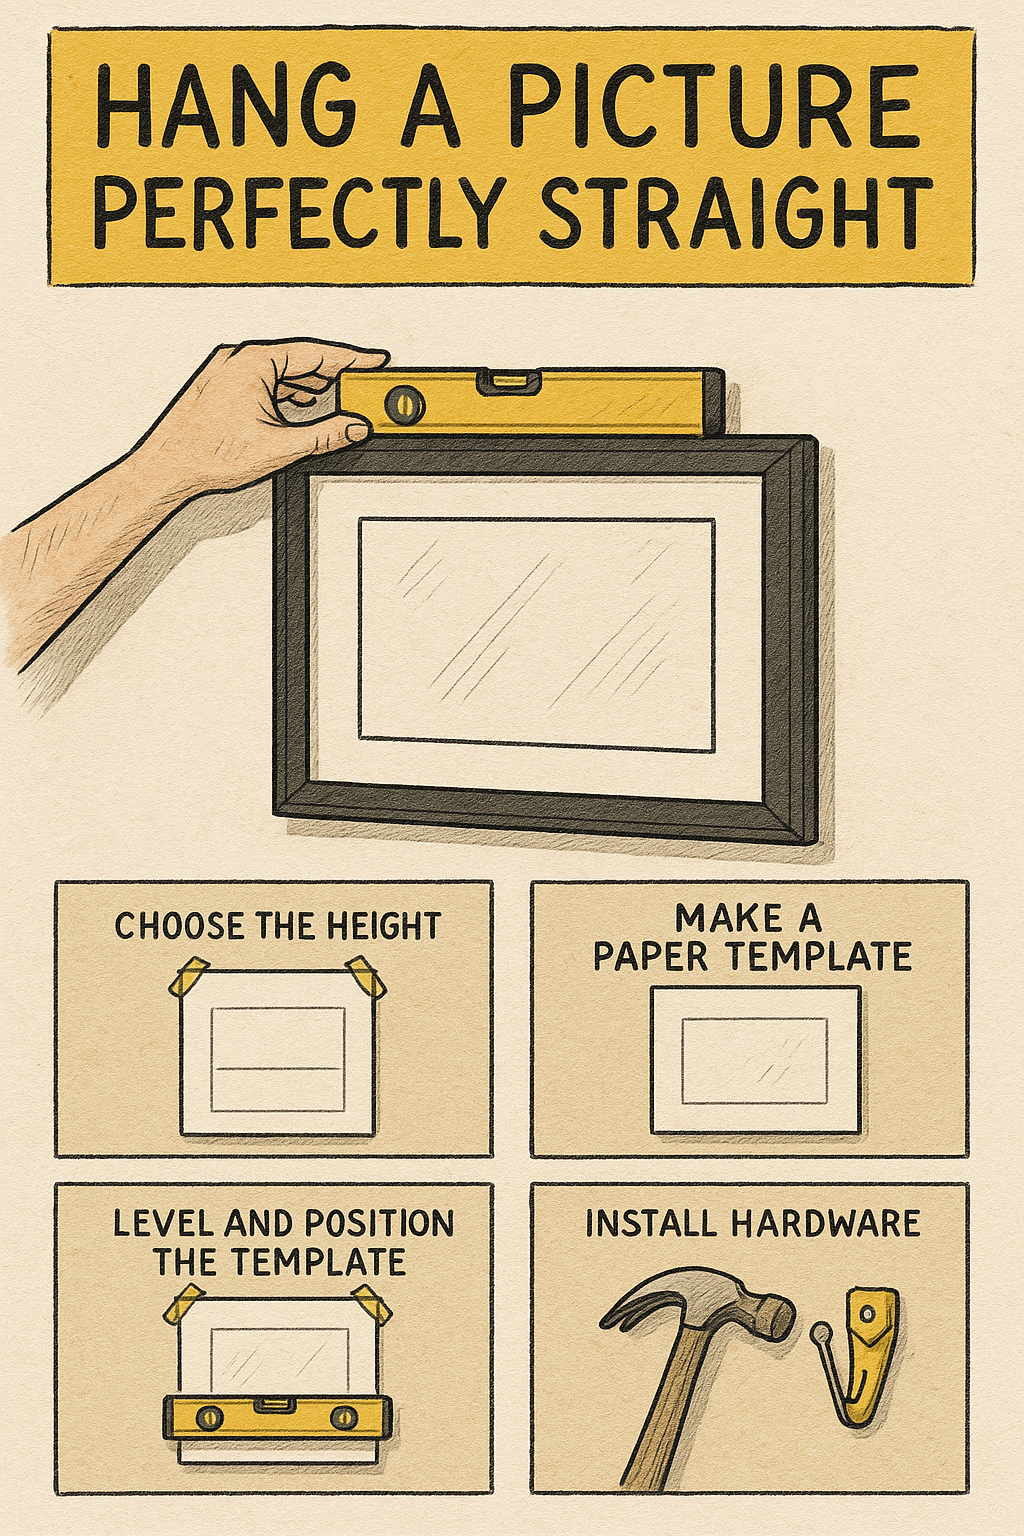
Step 1 - Pick the Right Height
Gallery rule: aim for the center of the artwork at 57-60 in (145-152 cm) from the floor. Over furniture, leave 6-8 in (15-20 cm) between the top of the furniture and the bottom of the frame so it visually connects without crowding.
Mark a small horizontal tick where the center should be. This is your height anchor.
Step 2 - Make a Paper Template
Lay your frame face down. Measure the overall width and height. If it hangs on a wire, pull the wire taut as it would hang and measure from the top of the frame to the wire’s peak; if it uses D-rings or sawtooth, measure from the top to those points.
- Cut paper to the frame’s outline. Mark a centerline on the paper.
- On the paper, mark the exact hanger locations (two points suggested, left & right).
- Write the distance from the top edge to the hanger marks so you can sanity-check later.
Step 3 - Position & Level the Template
Tape the template on the wall with a small piece at each corner. Align the template’s centerline to the spot you measured and use the level to get the top edge perfectly level. Step back and preview the location; nudge left/right until it feels balanced with nearby furniture, switches, or doorways.
Step 4 - Mark Your Fasteners
Pierce the paper at your hanger marks with a pencil and dot the wall. Remove the paper and draw a short, level line connecting the two marks-this confirms they’re at the same height. If they aren’t, fix it now; two level points are what stop a frame from rotating after you hang it.
Step 5 - Install Hooks (Use Anchors When Needed)
- Into a stud: use screws or heavy-duty hooks; pre-drill for hardwood studs.
- Drywall, no stud: use picture hooks for light frames (they spread load). For medium-heavy frames, drill for a proper drywall anchor (rated above the frame’s weight).
- Rental-friendly: quality removable strips can work for small/light frames; follow their weight limits and surface prep exactly.
Step 6 - Hang, Level, and Lock It In
Place the frame on the two points. Center it, then put the level on the top edge and adjust until the bubble sits in the middle. Press felt or silicone bumpers onto the lower corners; bumpers keep the frame from sliding and protect paint.
Pro Tips (Worth the Extra Minute)
- Two-point hanging beats one: use both D-rings or two hooks under a wire. It resists tilt from vibration and door drafts.
- Wire slack math: if your wire peaks 2 in (5 cm) below the top when taut, your nail points should sit 2 in below the final top line-build this into the template.
- Cluster layouts: set the bottom of upper frames and the top of lower frames on common lines to keep a gallery wall tidy.
- Phone as level: many phones have a built-in level (in Measure/Compass). Lay it on the frame’s top for quick checks.
Safety & Weight Guide
- Don’t drill near outlets or switches without checking for wires. A stud finder with AC alert helps.
- Check fastener ratings. If your frame is heavy (mirrors, large glass), use anchors or go into a stud.
- Old plaster walls may need plaster-friendly anchors; avoid over-tightening.
Troubleshooting
- Still tilting? Add a second hook, or move existing hooks farther apart. Add bumpers.
- Frame sits crooked though hooks are level: Your D-rings may be mounted at different heights-re-measure and remount one ring, or compensate by moving a hook.
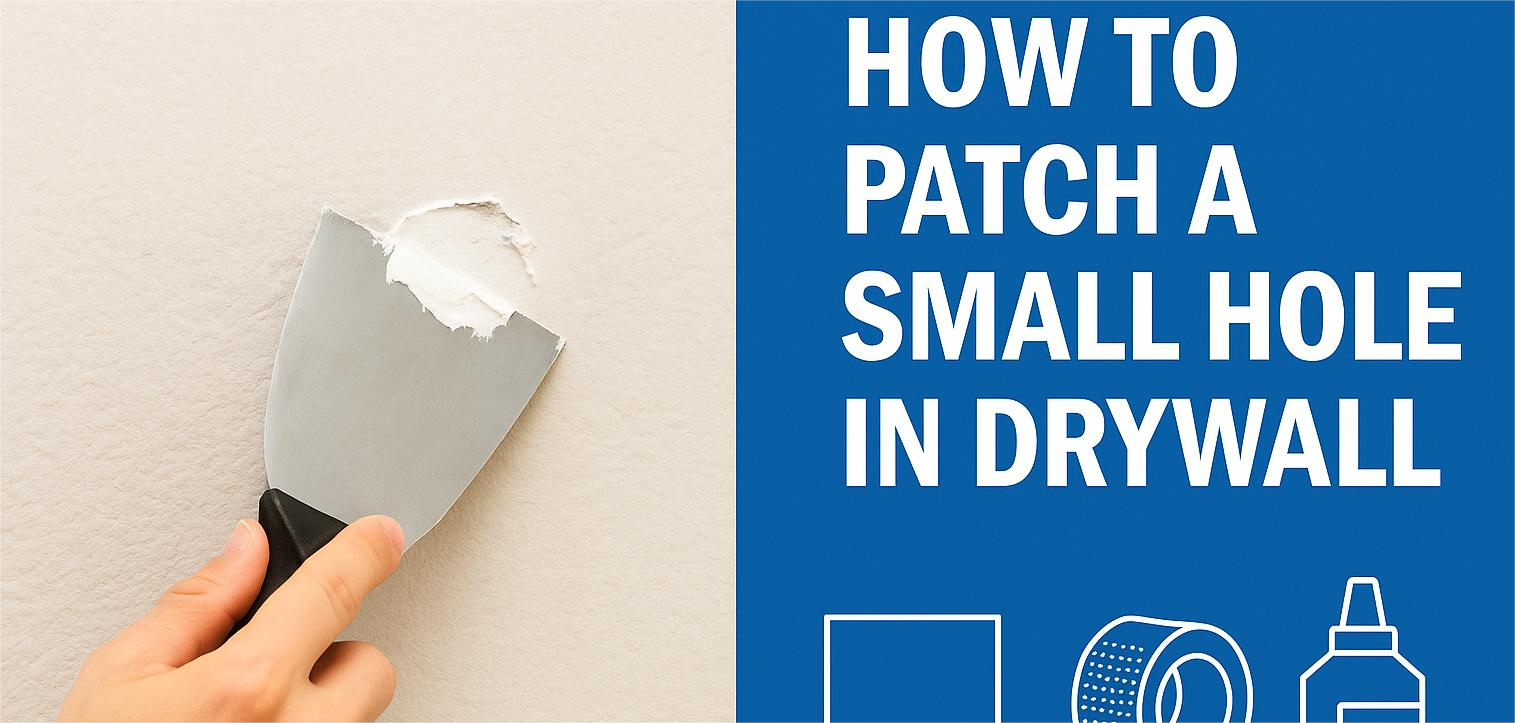
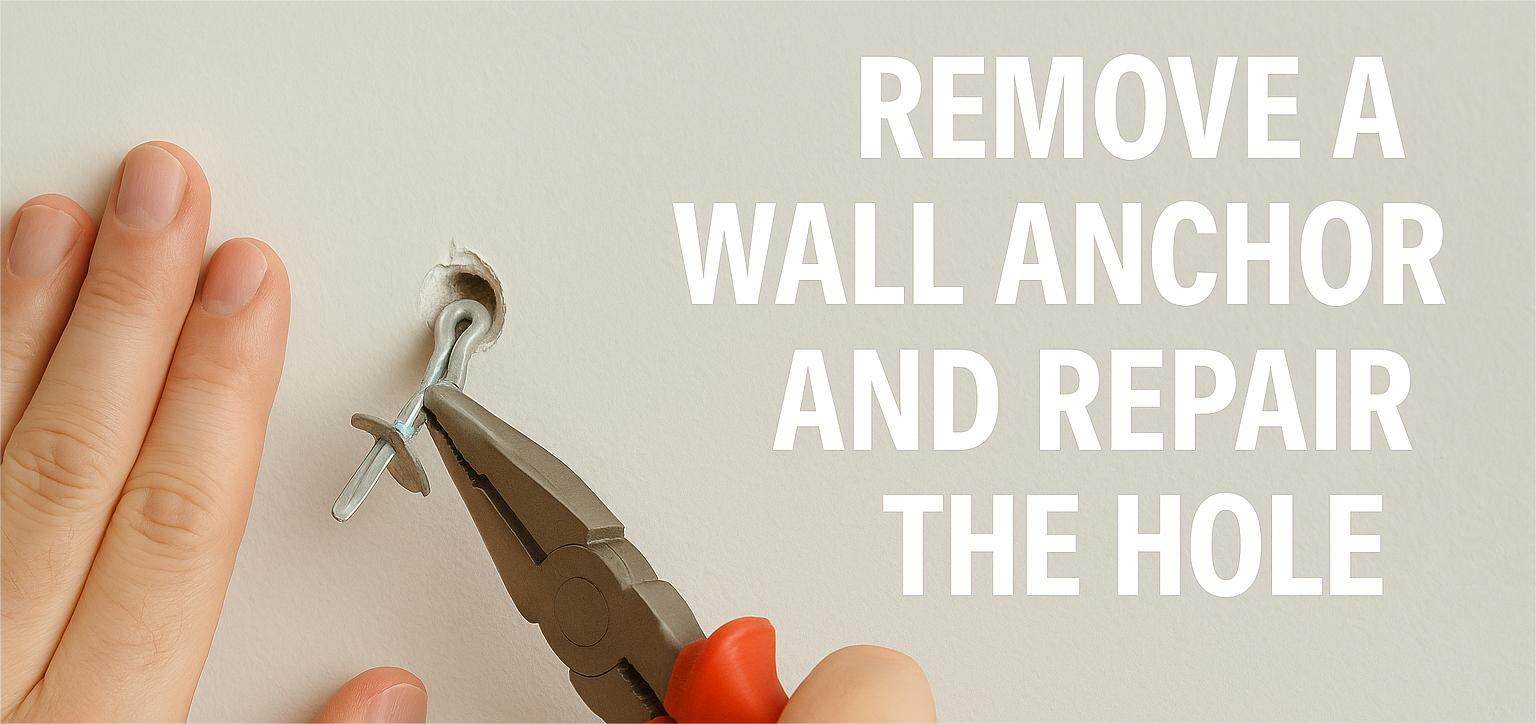
- Holes in the wrong spot: Fill with lightweight spackle, sand, touch up paint, and re-hang using the template.
30-Second Recap
- Choose gallery height (center at ~57-60 in).
- Make a paper template and mark exact hanger points.
- Tape up, level, and preview.
- Transfer marks, install two level fasteners.
- Hang, level, add bumpers-done.
With a template, two points, and bumpers, hanging straight becomes repeatable. You’ll get pro-looking results in minutes-no more lopsided frames or endless re-nailing.