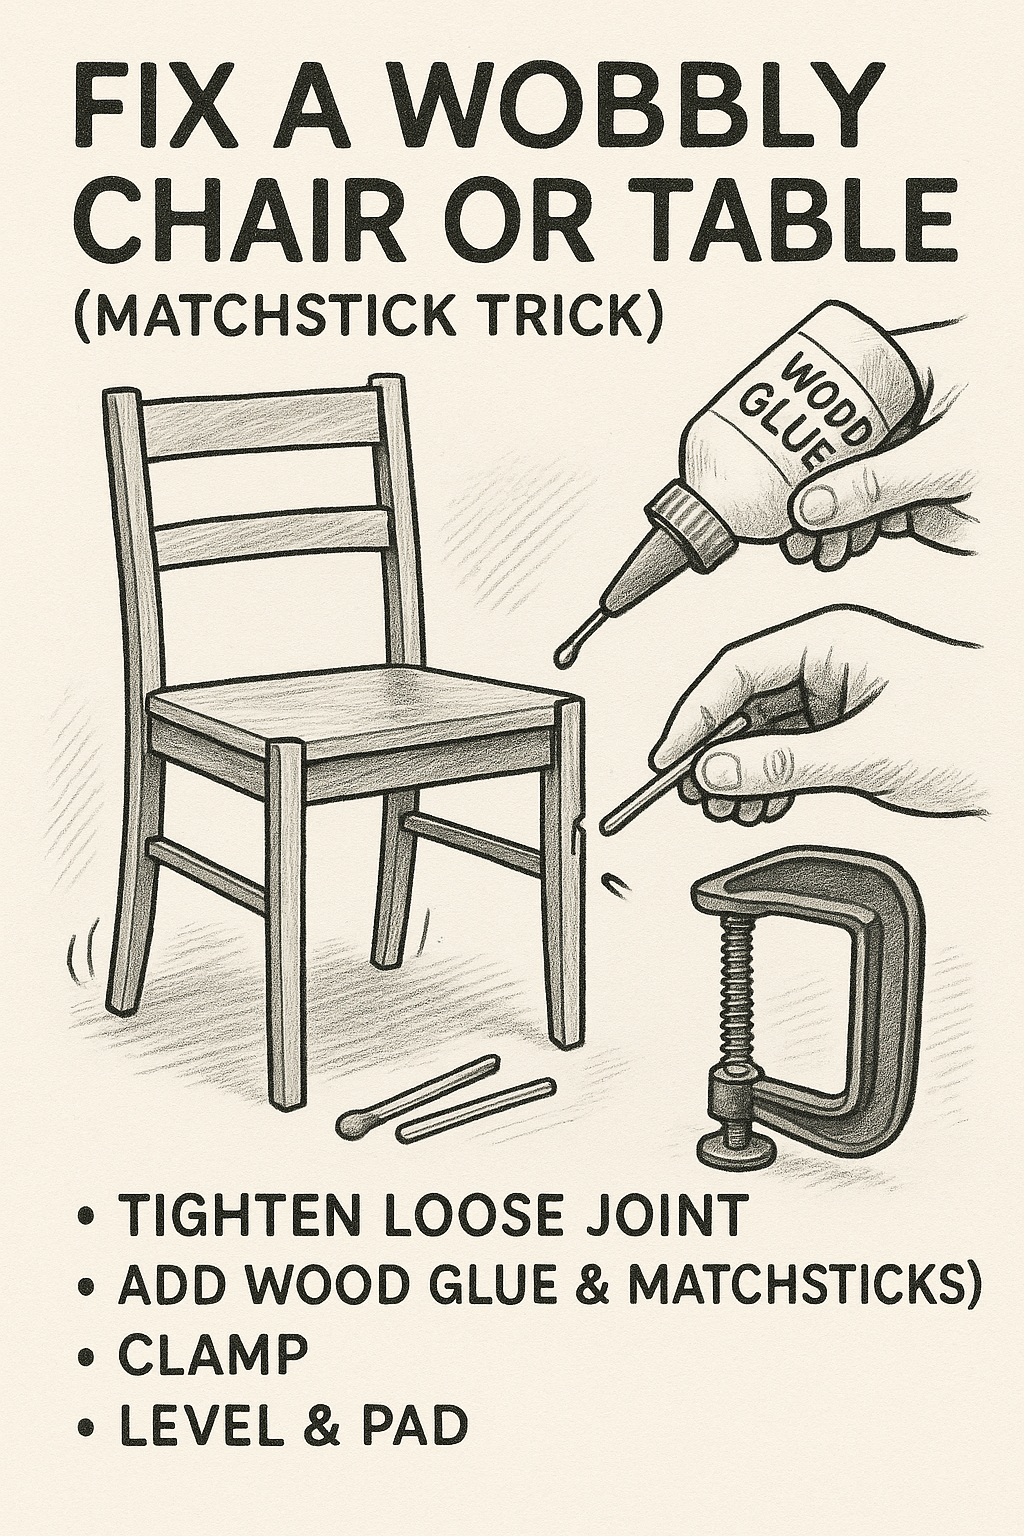
Fix a Wobbly Chair or Table (Matchstick Trick)
by Abdulrasaq • DIY Guides • August 10, 2025
A wobbly chair or table is almost never caused by a “short leg.” In over a decade of repairing wooden furniture and helping neighbors stabilize loose joints, I’ve found that 90% of wobbles come from loose mortise-and-tenon or dowel joints. These joints loosen over time as glue dries out and the wood compresses, leaving gaps that cause rocking or creaking.
The matchstick trick is a classic woodworking hack that professional restorers still use. It works by adding thin wood shims inside the joint and re-gluing the connection. It’s cheap, fast, effective, and requires no special tools.
Before You Start: Confirm the Loose Joint
- Place the furniture on a flat, hard surface. Tile, concrete, or hardwood is best.
- Grip one joint at a time while gently rocking the furniture. If the wobble stops when you hold a certain connection, that’s the culprit.
- Fix one joint at a time-start with the loosest.
If you want to see examples of how loose joints behave, Rockler’s woodworking guide clearly demonstrates how dowels loosen over time. Their explanation of joint wear is simple and accurate (verified woodworking resource).
Tools & Materials
- Uncoated wooden matchsticks or toothpicks
- Wood glue (PVA) - Titebond or Gorilla Wood Glue work well
- Clamps (or a strong belt/strap if clamps are unavailable)
- Utility knife or flush-cut snips
- Damp cloth for glue cleanup
- Fine sandpaper (180-220 grit)
- Optional: felt/rubber pads for final leveling
1) Ease the Joint Apart (If Possible)
Many loose joints pull apart with gentle pressure. Hold the leg and rail straight and slowly work the joint apart. Avoid twisting aggressively across the grain-this can crack the wood.
If the joint will not come apart, you can still strengthen it by inserting matchstick shims at the entry edge, but a full separation always gives the cleanest and strongest repair.
2) Dry-Fit Using Matchsticks as Shims
Snugness is the goal. A joint that is too tight can split the leg; too loose won’t eliminate the wobble.
- Cut the sulfur heads off the matches.
- Place 1-3 thin shims evenly spaced around the tenon or dowel.
- Push the joint together without glue to test the fit.
- If hammering is required, remove or thin a shim.
3) Glue & Assemble the Joint
- Spread a thin, even coat of glue on the tenon and the inside edge of the mortise.
- Position your matchstick shims exactly where you tested them.
- Push the joint together in one steady motion.
- Wipe off all squeeze-out immediately with a damp cloth.
4) Clamp the Joint Straight
Apply firm, even pressure with a clamp-or a tightly wrapped belt if clamps are unavailable. Allow 20-30 minutes of clamp time, though most PVA glues reach full strength in 24 hours.
Double-check the alignment of all rails connected to the same leg. Sight down the edges to confirm everything is straight.
5) Trim, Sand & Let It Cure
After the initial set, trim any protruding shim ends with a utility knife or flush-cut snips. Lightly sand the area to remove roughness.
6) Level the Feet (Final Check)
Place the chair or table back on a perfectly flat surface. If a slight wobble remains, the problem may be uneven feet rather than a loose joint.
Add felt pads under the feet and stack a second pad under the short one if required. This not only stabilizes the furniture but protects your floor.
Comparison Table: Which Fix Works Best?
| Problem | Likely Cause | Best Fix | Difficulty |
|---|---|---|---|
| Normal wobble | Loose joint | Matchstick shims + glue | Easy |
| Large joint gap | Severe wear | Replace dowel or sleeve mortise | Moderate |
| Rocking on only one floor spot | Uneven foot | Felt pads | Very Easy |
Real-World Case Studies
Case Study 1- Dining Chair Restored in 15 Minutes
A friend’s dining chair wobbled dangerously. The rail-to-leg joint was loose due to dried glue. Two matchstick shims and a thin coat of Titebond restored the joint completely. The chair has stayed solid for over a year.
Case Study 2- Office Table With Multiple Loose Joints
A home office table had three loose dowel joints. Each joint required two shims. After clamping for 30 minutes and curing overnight, the table became stable enough to hold a full desktop setup without wobbling.
Case Study 3- Children’s Stool With a Split Leg
A neighbor’s wooden stool wobbled because the tenon had slightly split the leg. This required re-gluing the split using a clamp, then reinforcing the joint with shims. The repaired stool is now sturdy and safe for use.
When to Use a Different Fix
- Cracked tenon or split leg: Repair or replace damaged wood before shimming.
- Metal furniture: Tighten bolts or use threadlocker instead of shims.
- Very large gaps: Replace the dowel or plug + redrill instead of stacking many shims.
Smart Tips for Long-Lasting Repairs
- Use uncoated matchsticks- coatings weaken glue bonds.
- Place shims opposite each other for even pressure.
- Thin glue film = strongest bond.
- Mark the repaired leg discreetly for future checks.
Safety & Finish
- Cut away from your body when trimming shims.
- Wipe glue instantly- dried glue can block stains during refinishing.
- Let the joint cure fully before heavy use.
30-Second Recap
- Find the loose joint.
- Dry-fit with matchstick shims.
- Add glue and reassemble.
- Clamp 20-30 minutes.
- Trim shims, sand, and let cure fully.
- Add felt pads for final leveling.
With patience and the matchstick trick, any wobbly chair or table can become solid again. This simple repair extends the life of your furniture and costs almost nothing, making it one of the best DIY fixes you can learn.