How to Fix a Leaky Tap With Basic Tools
by Abdulrasaq • DIY Guides • August 9, 2025
The first time I repaired a leaking tap, I was shocked by how much water a small drip could waste. According to the U.S. Geological Survey, a single drip per second can waste over 3,000 liters (800 gallons) of water a year. My own kitchen tap had been dripping for weeks, and replacing one worn washer stopped the problem in less than 20 minutes. This guide walks you through the exact steps I used- safe, simple, and beginner-friendly.
Most leaks come from a worn washer, O-ring, or a faulty cartridge. With a few basic tools, you can fix the issue without calling a plumber. These steps apply to both traditional compression taps and modern mixer taps.
What You’ll Need
- Adjustable wrench or spanner
- Phillips and flat screwdrivers
- Allen (hex) key for set-screw handles
- Replacement washer/O-ring or cartridge
- Plumber’s grease (optional) and PTFE tape
- A sink plug or cloth to prevent losing small parts
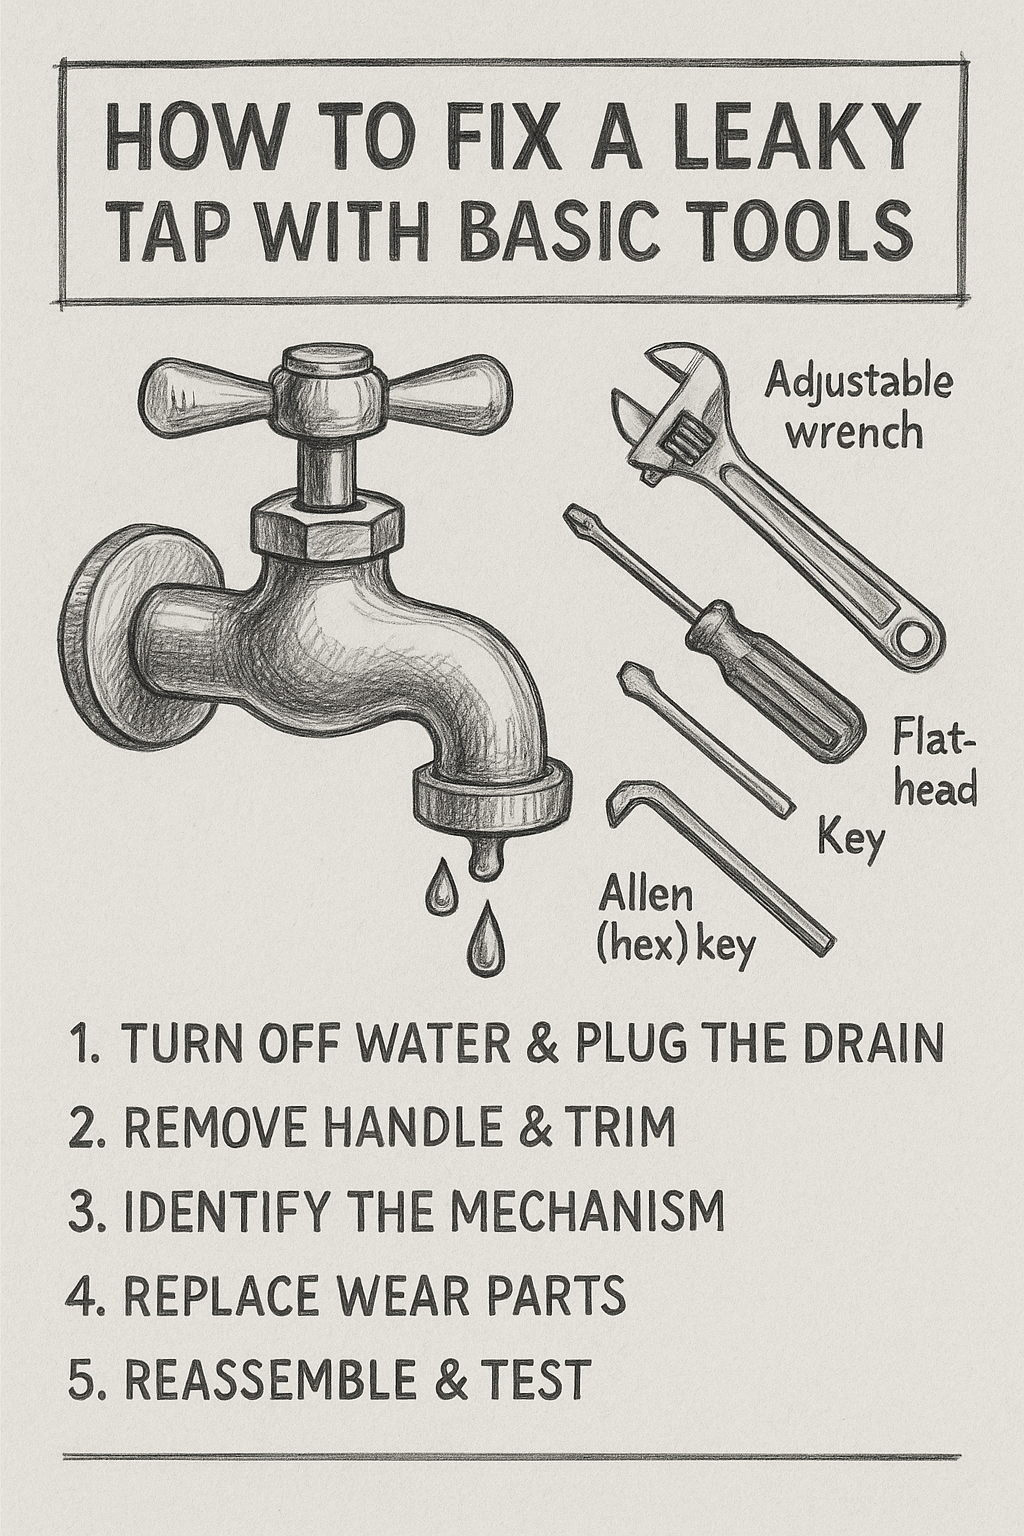
Step 1- Turn Off Water & Plug the Drain
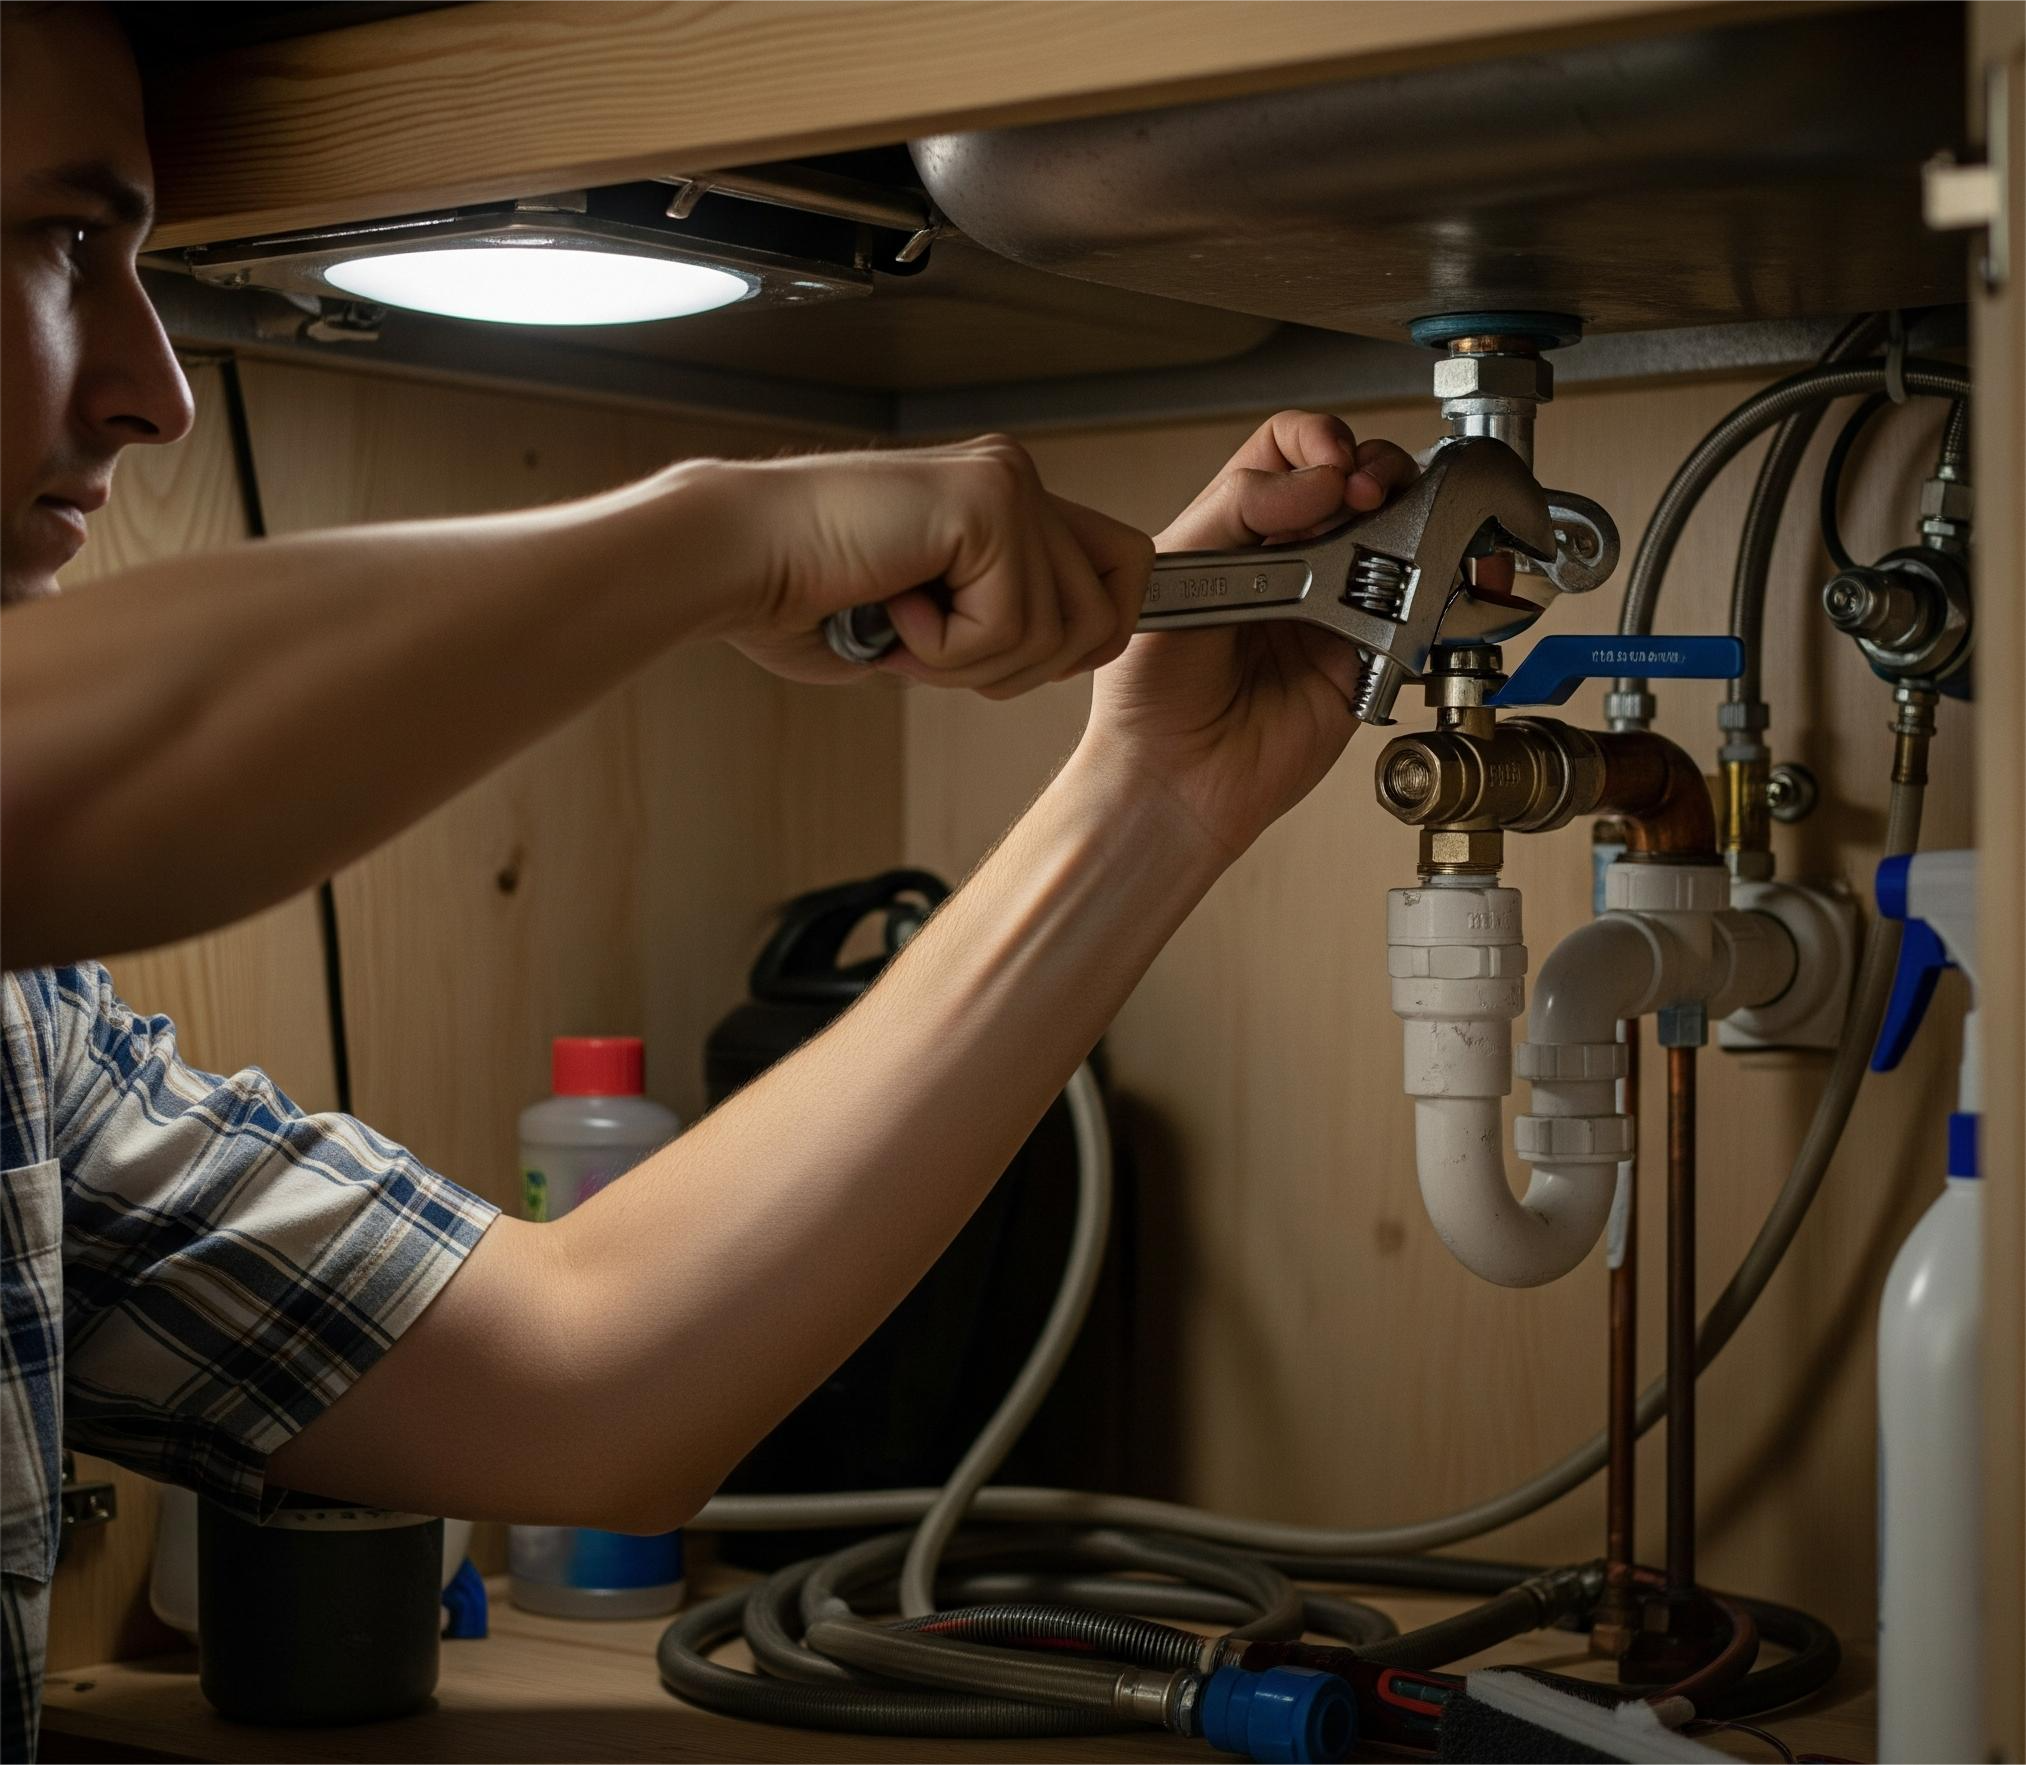
Start by cutting the water supply. Most sinks have an isolation valve under the basin, but if yours doesn’t, turn off the main supply for your house.
- Locate and close the tap’s isolation valve.
- Open the tap to release pressure and drain leftover water.
- Place a plug or cloth in the sink so screws don’t fall inside.
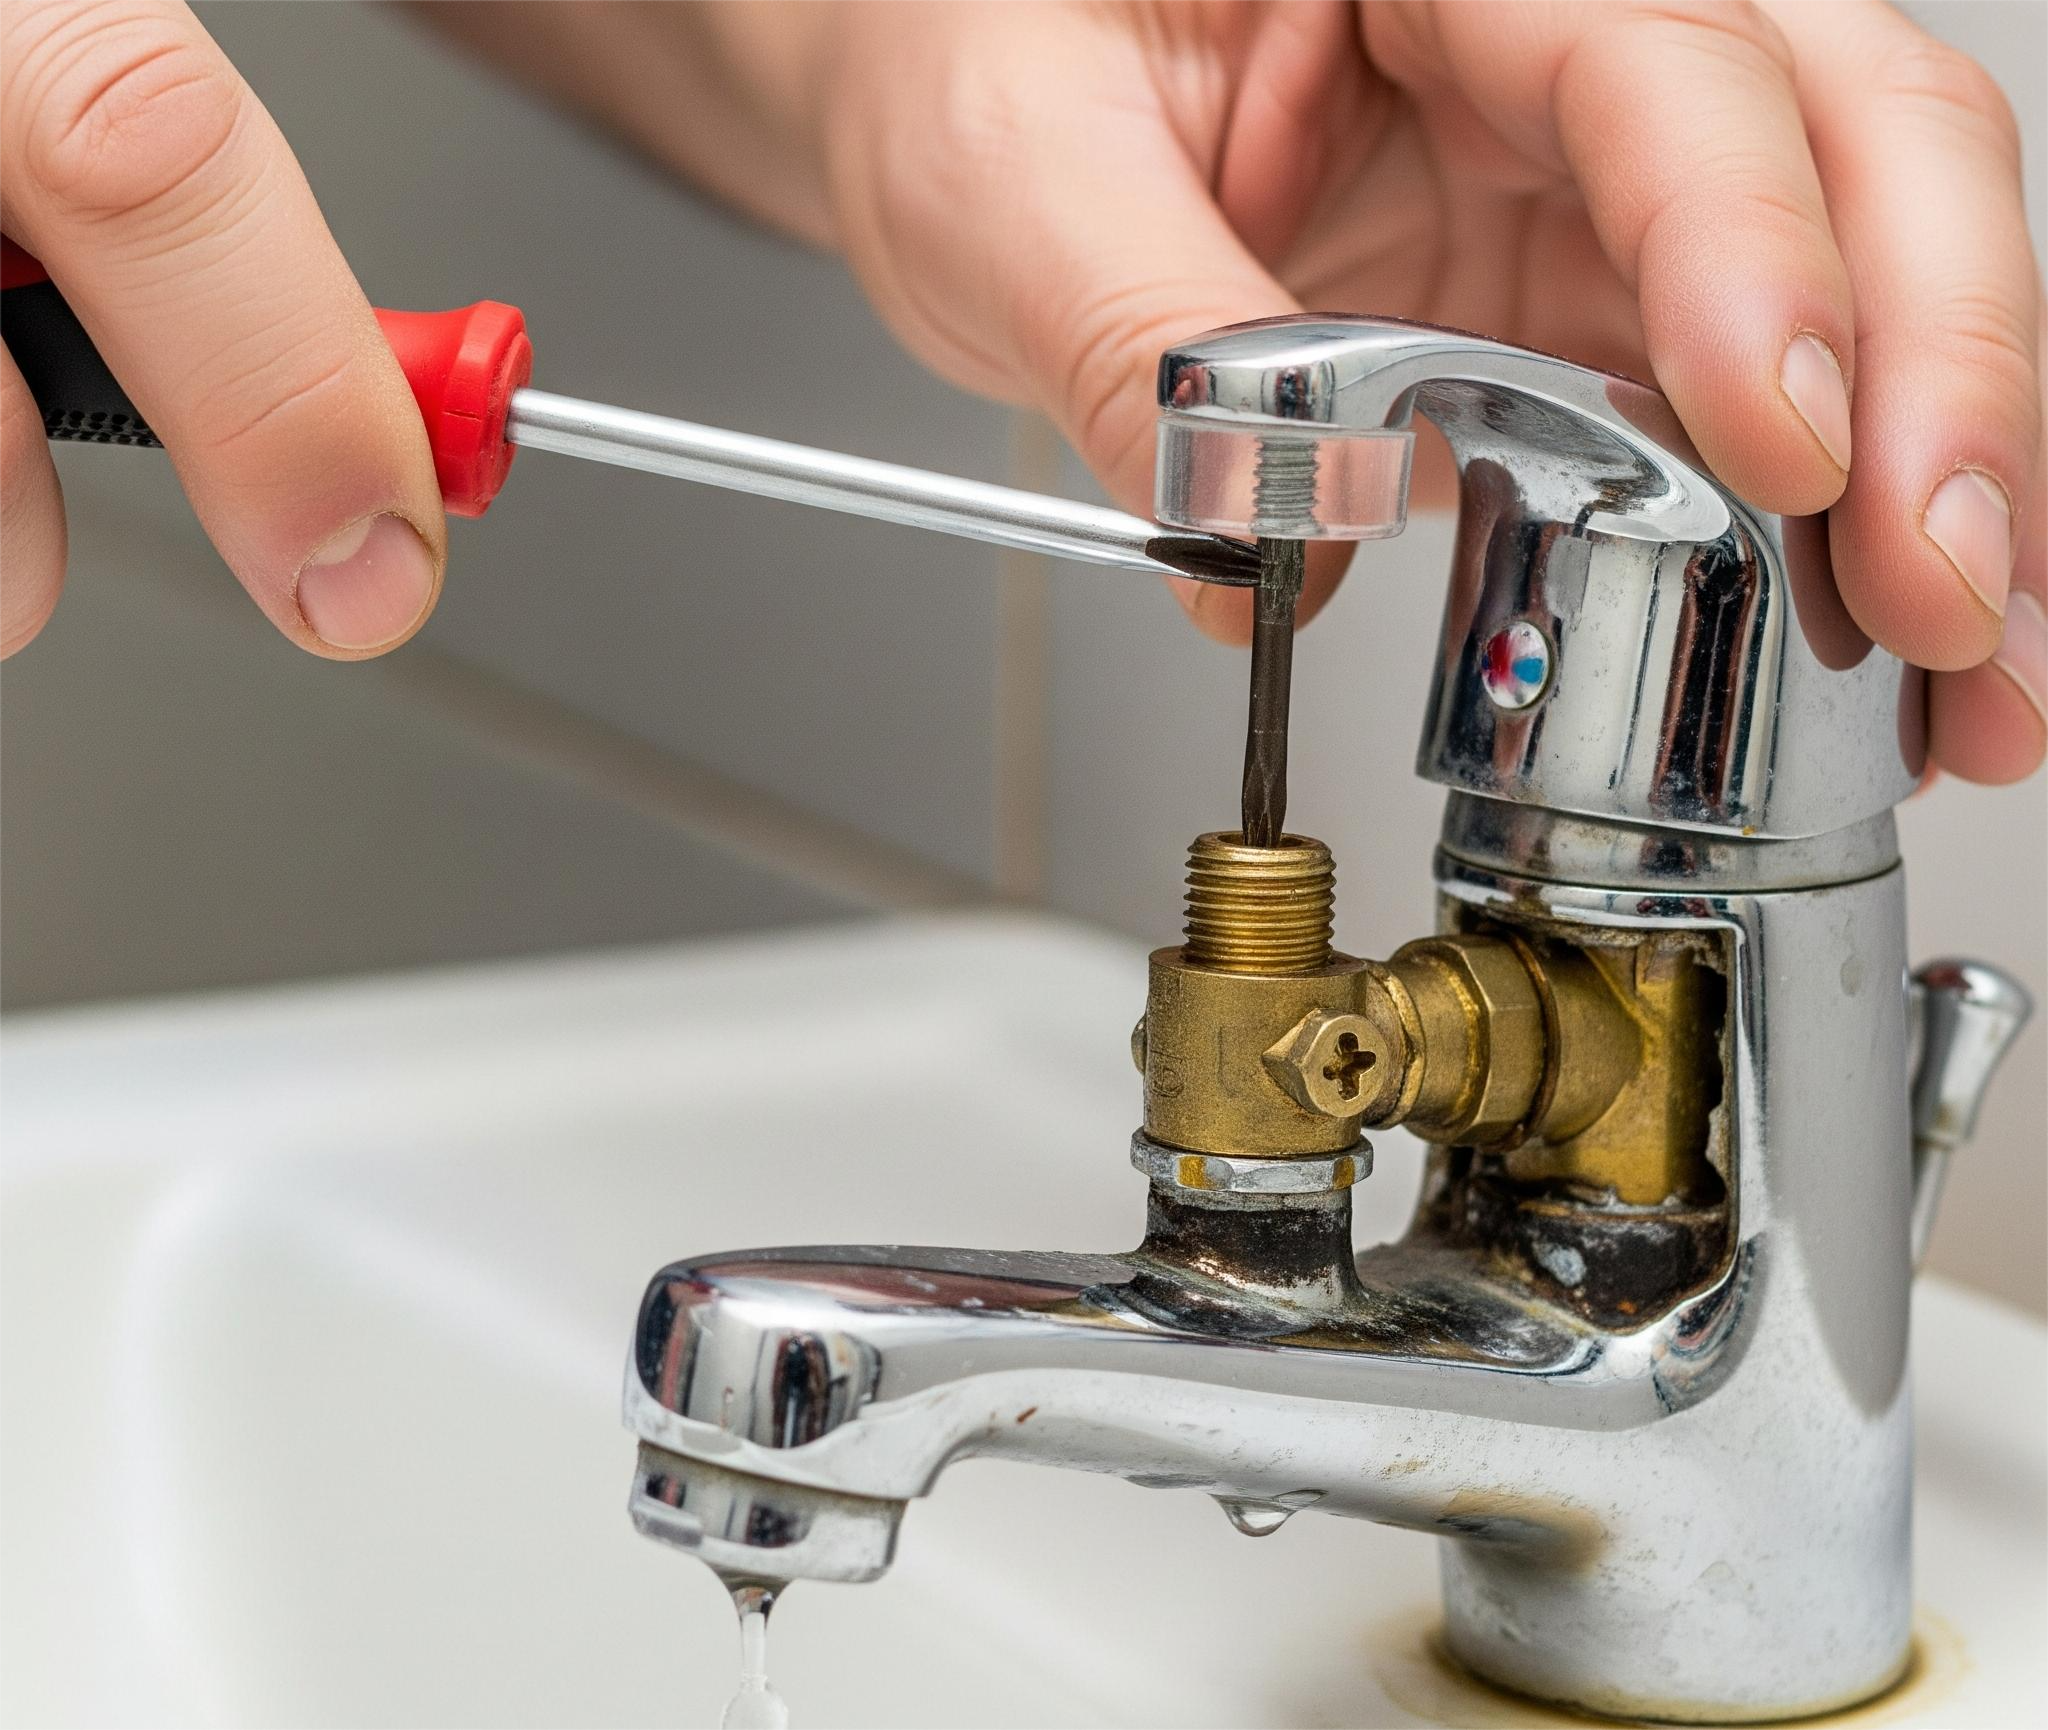
Step 2- Remove Handle & Trim
Most taps have a small decorative cap hiding the screw. Removing the handle reveals the internal valve.
- Pop off the hot/cold cap with a flat screwdriver.
- Use a Phillips or Allen key to remove the handle screw.
- Lift the handle off, then unscrew the dome or cover to expose the valve stem or cartridge.
Step 3- Identify Your Tap Type
- Compression taps: Two separate handles. They use a rubber washer that presses against a valve seat.
- Mixer/ceramic cartridge taps: Single lever or modern twin handles. They use a ceramic cartridge plus O-rings.
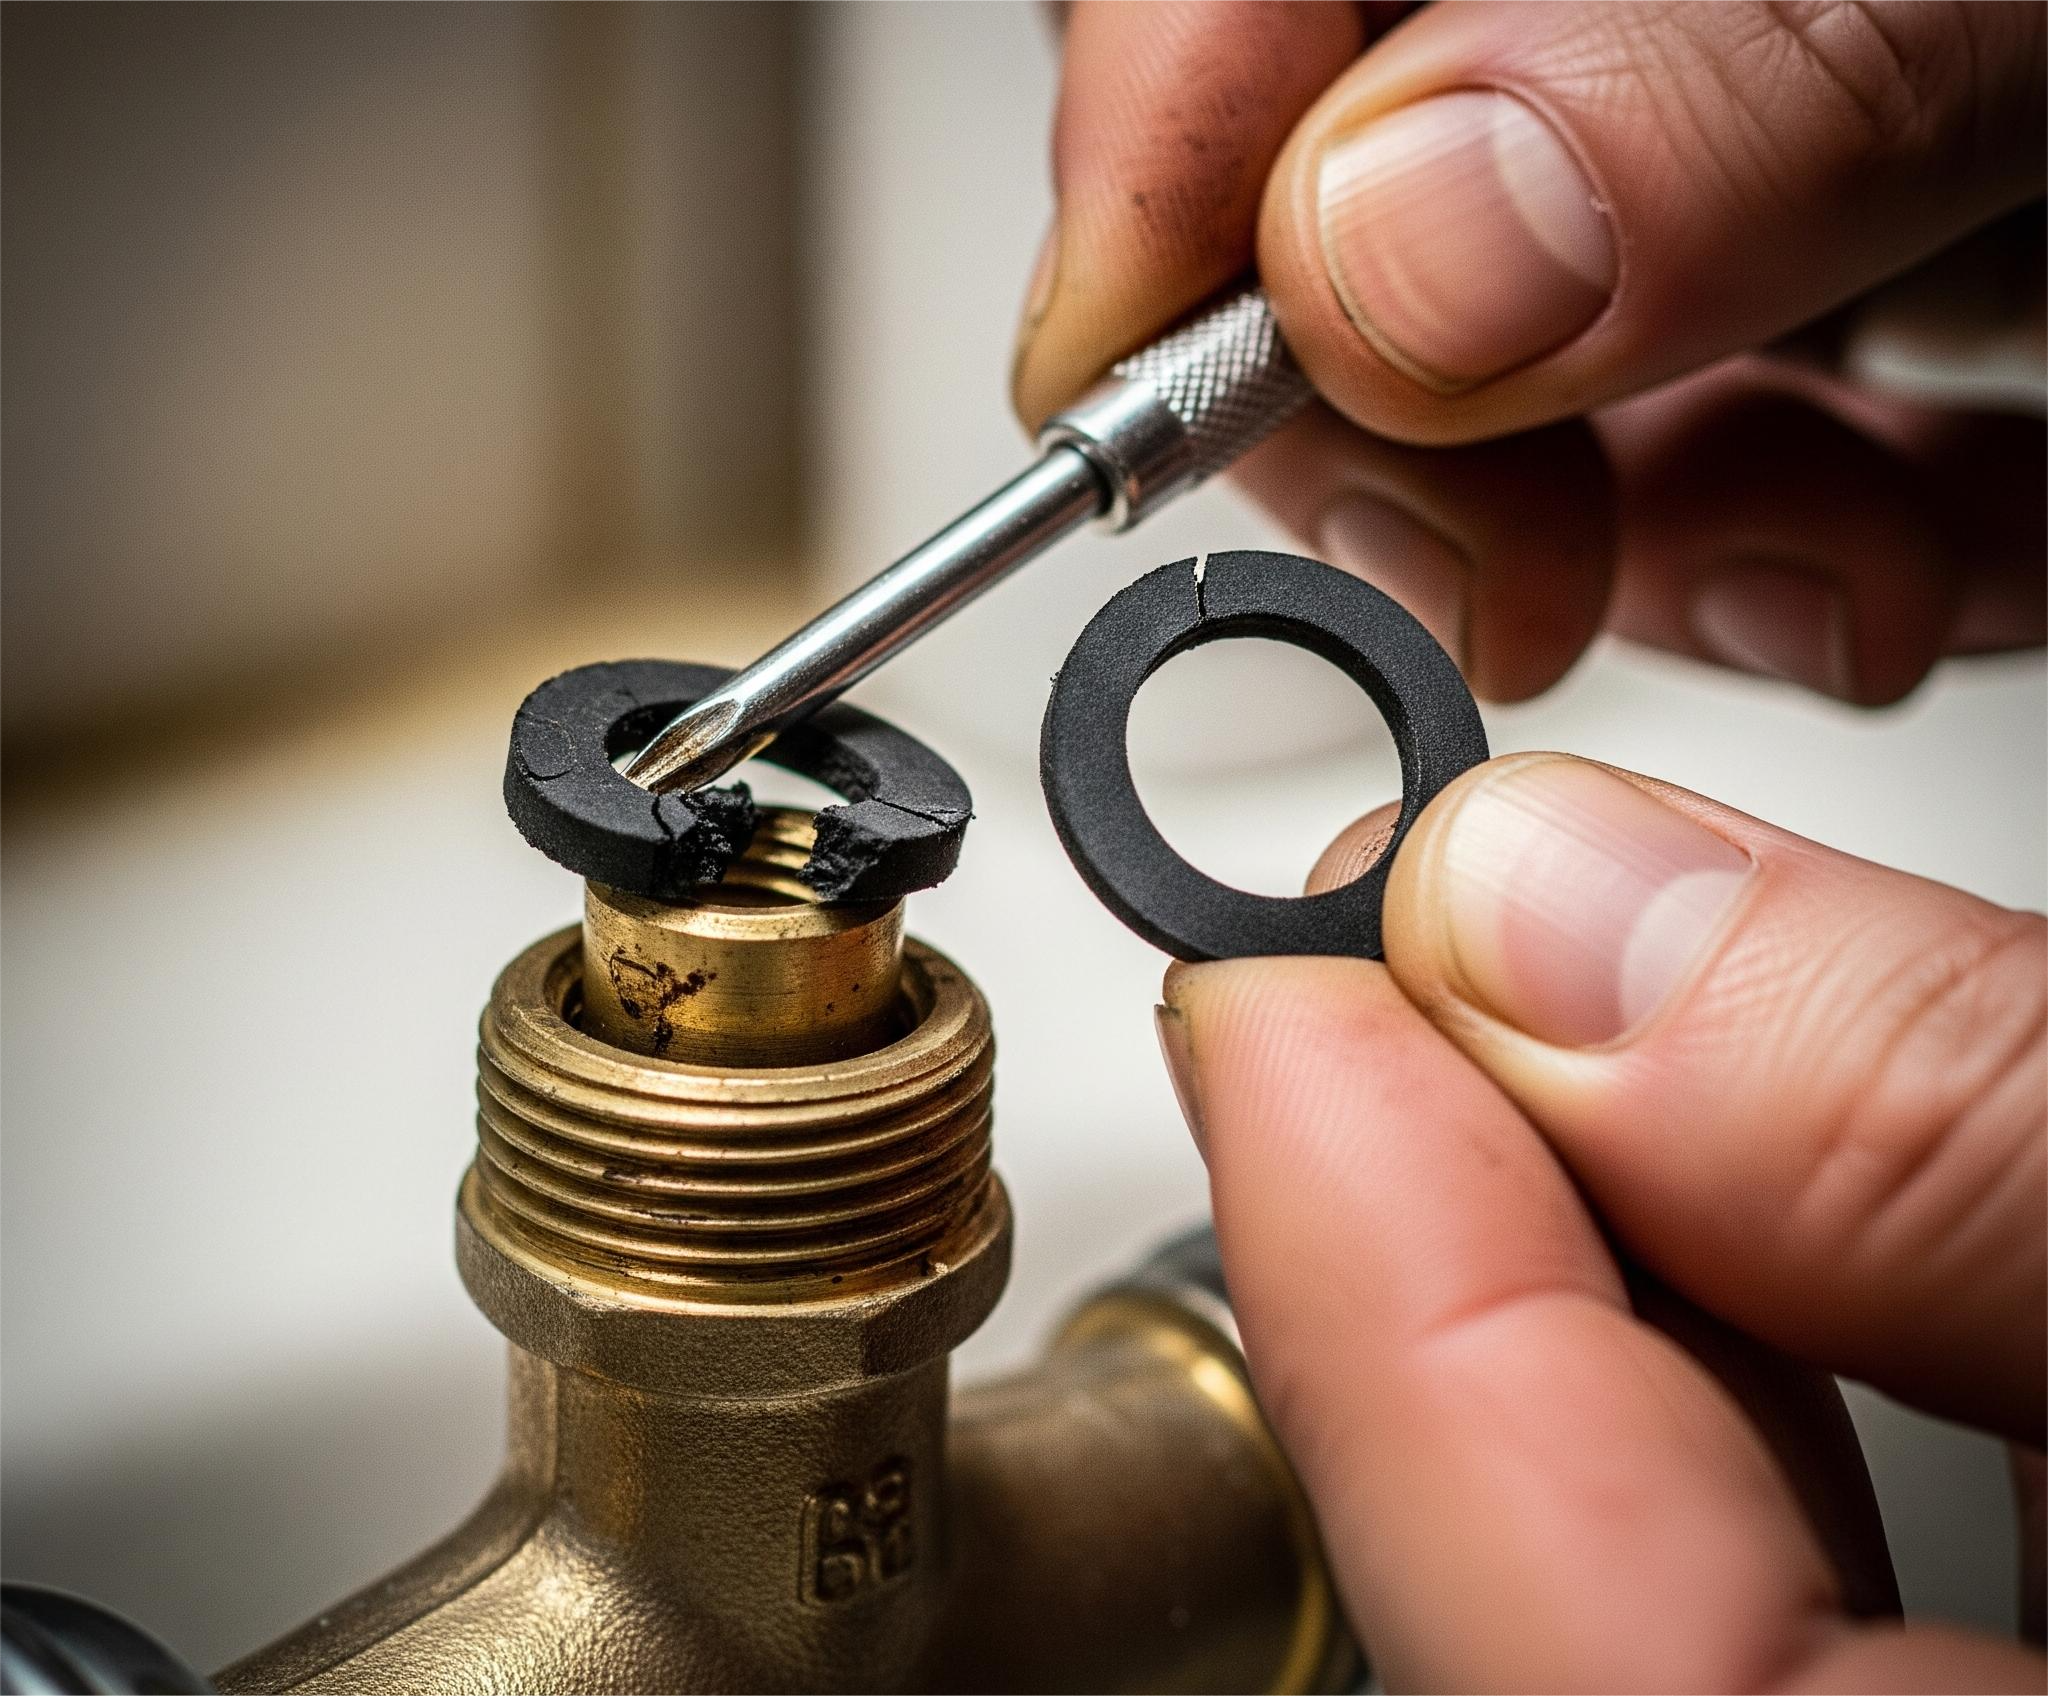
Step 4A- Replace the Washer (Compression Tap)
This is the most common cause of drips in older faucets.
- Use a wrench to remove the valve stem assembly.
- Unscrew the washer at the bottom of the stem.
- Replace it with an identical size- most hardware stores will match it for you.
- Check the valve seat inside the tap. If it’s rough or pitted, install a seat insert.
- Wrap PTFE tape on threads if needed, then reinstall the stem.
Step 4B- Replace the Cartridge & O-Rings (Mixer Tap)
Modern taps use ceramic cartridges. When they wear out, the tap often drips or becomes stiff.
- Pull out the retaining clip or nut holding the cartridge.
- Lift the cartridge straight up- avoid twisting.
- Take the old cartridge to the store to match the exact shape and brand.
- Replace worn O-rings around the body; apply a thin layer of plumber’s grease.
- Insert the new cartridge, reinstall the clip, and tighten gently.
Step 5- Reassemble & Test
Once the faulty part is replaced, the remaining steps are simple.
- Reattach the trim and handle.
- Turn the water supply back on gradually.
- Test the tap- open, close, and check for drips over the next few minutes.
Comparison Table- What Fix Works Best?
| Tap Type | Likely Cause | Fix | Difficulty |
|---|---|---|---|
| Compression Tap | Worn washer or O-ring | Replace washer/O-ring | Easy |
| Modern Mixer Tap | Faulty ceramic cartridge | Replace cartridge | Moderate |
| Old Corroded Tap | Damaged valve seat | Install seat insert | Moderate |
Real Case Studies
Case Study 1- Apartment Kitchen Drip
When I helped a friend fix a constant drip in their apartment, the problem turned out to be a hardened washer. The repair took 15 minutes and reduced their monthly water bill noticeably. A simple washer replacement solved it.
Case Study 2- Mixer Tap in a Rental Bathroom
A tenant reported a leak that worsened whenever the handle was moved. Inspection showed a cracked ceramic cartridge. Replacing the cartridge restored full control and stopped the leak immediately.
Case Study 3- Slow Leak at the Handle Base
A homeowner noticed water pooling around the tap base. The cause wasn’t the cartridge- it was a worn O-ring. Replacing just that rubber ring and applying plumber's grease solved the issue without replacing other parts.
Quick Troubleshooting
- Drips from only hot or cold? Replace that side’s washer or cartridge.
- Leak around the handle? O-ring failure is likely.
- Low water flow? Remove and clean the aerator.
Common Mistakes to Avoid
- Forgetting to turn off the water first.
- Mixing hot and cold components- keep parts organized.
- Over-tightening screws or cartridges, which can cause new leaks.
Fixing a leaking tap is one of the easiest DIY repairs you can learn. With the right replacement parts and the steps above, you can stop water waste, reduce bills, and keep your fixtures in great condition. If the leak continues after a repair, the tap may have internal corrosion- in that case, consider replacing the whole unit. Otherwise, most leaks are quick fixes anyone can handle.